Data Types
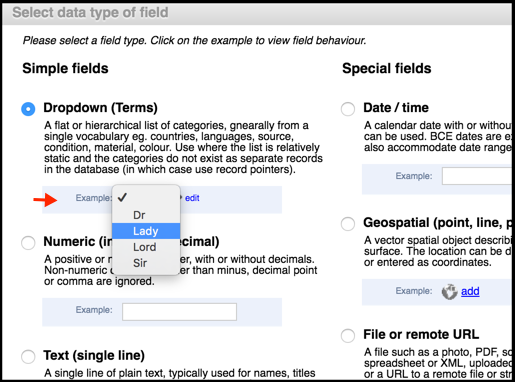
Data types determine the kind of information that can be stored in a field type during data entry or import. When you are adding a data type, the set of available data types is displayed. You can click on the example shown to see how the data type operates. Click the check-box of the data type you wish to use and click Select.
A range of basic data types exist, including text, numeric, date, geospatial etc.
It may be tempting to simply create a lot of free text fields into which any sort of data can be entered. This is not good practice. We strongly recommend first considering whether the field can be represented as one of the following advanced field types (for these data types, additional fields are displayed on the Define New Field Type dialog):
- Term List. Define a list or hierarchy of terms (create new terms or select from available terms) to be available from a dropdown.
- Record Pointer. Create a hard-coded relationship to a target record, such as an author, a work, an institution or a place. (See also Connections.)
- Relationship Marker. Add a prompt for users to define the relationships (or links) that might exist between records (with constraints). This is essentially a combination of the preceding types, viz. a relationship type chosen from a dropdown list and a target record of a specified type. (See also Connections.)
Note. You are limited in what Data Type changes you can make and in most cases you cannot make changes.
The following data types are for structuring your fields and contain no data:
- Separator. Is simply used to provide a separator and heading within the Shared Information data entry page.
- Heading. Provides a text heading within the data entry page. Use this to clarify field layout.
Tip. Use these, along with the position of the field types in the record structure page, to properly layout your record in the data input page.
Data Types and their usage are described in the subtopics.
Created with the Personal Edition of HelpNDoc: What is a Help Authoring tool?