Selected Menu
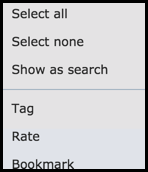
This menu lets you carry out actions on multiple records.
To carry out multiple actions, you need first to search for the range of records you wish to modify, and select one or more of these records.
Select All and Select None let you select and deselect all records. To select or deselect individual records use the Ctrl key. To select a range of contiguous records, use the Shift key. Show as Search simply opens a new widow and displays the selected records as a search.
All actions are described below:
Tag

Use this option to add multiple tags. (See also Action Pane).
Rate
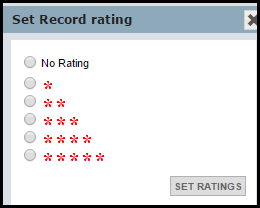
Use this option to add a rating to multiple records.
Click on a rating (5 stars = highest), then click Set Ratings.
Bookmark
Use this option to bookmark  selected records. (See also Action Pane).
When bookmarking the record you are requested to add tags via the Tags dialog.
To remove bookmarks from all selected records, select Selected | Un-Bookmark. (You can delete the bookmark to, say, a journal, from My References without deleting it from the database; deleting it will not alter any journal article references which refer to it. However, alterations to the bibliographic information in the Shared Information section of the record WILL be carried through to any resources which reference it.)
Merge
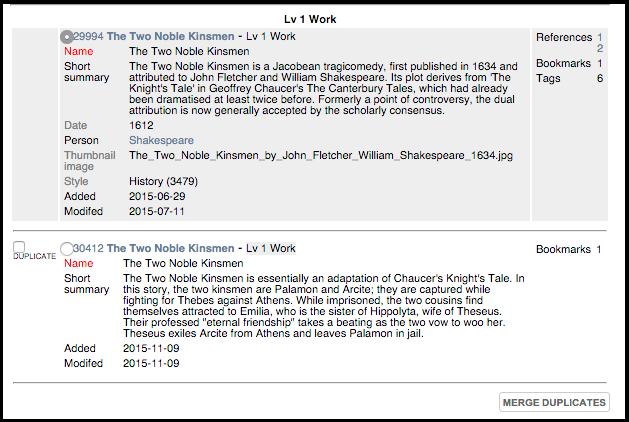
Use this option to merge multiple records (i.e. duplicates). You must have just one Master record (the record to which all data is merged into), and select at least one duplicate, although you can have multiple duplicates).
Merging combines all data. Any bookmarks, tags and relationships that are in the selected duplicate records but are not in the master record are added into the master records.
You are given the opportunity to review/refine any changes before committing. After the merge, all selected duplicate records are deleted.
Tip. You can take note of the records' Ids to be sure you are merging the correct records.
To merge, select the duplicated records from the Search Results pane. Select Selected | Merge. All records are displayed (by default, the lowest ID is set as the Master record).
Review the records' data. To set another record as the master record, click on the record's radio button. Select the record(s) you wish to merge with the master record (click on the records' checkboxes). When ready, click Merge Duplicates.
Review the changes before committing:
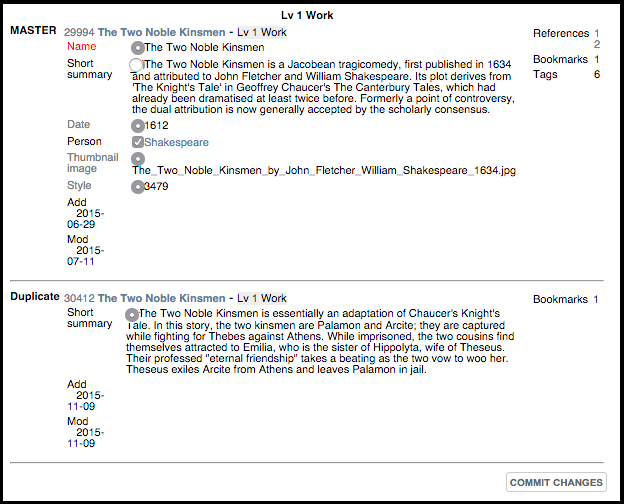
Select the data items which should be retained, added or replaced in the Master record. Repeatable (multi-valued) fields are indicated by checkboxes and single value fields are indicated by radio buttons.
When ready, click Commit Changes. The changes are made and the Master record displayed so that you can verify the changes.
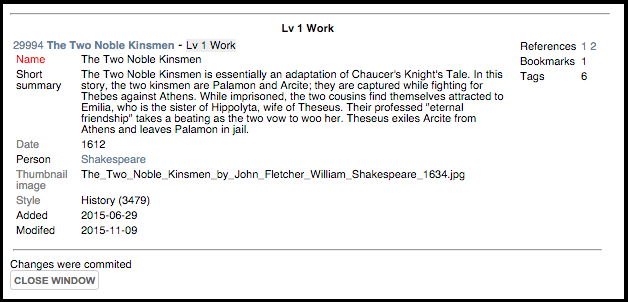
Click Close Window.
Delete
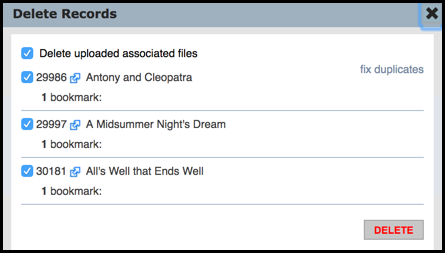
Selecting Delete lists the selected records for deletion. Optionally deselect records (you do not wish to delete) from the list. Select Delete uploaded associated files to also delete these files.
Note. Heurist will prevent you from deleting any record which has pointers to it; you need to first remove these pointers.
The next step is UNDOABLE. Click Delete to continue to delete the selected records.
Add Field Value

This allows you to add a new value for a specified field to each selected record. Existing values are unaffected. New values cannot be added to records where this will cause the maximum count for that field to be exceeded (e.g. adding a value to a single value field where a value is already recorded).
In the Add value to field, specify what set of fields you wish to update. The options are: all in current Search Results page; all selected by you; and all records of this type:

In the Select Field field, specify the field you wish to add a value to. In the Value to Add section, specify the new value. For example:
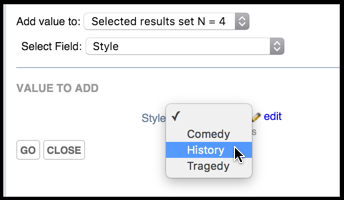
Click Go. The new value is added to the selected fields for the identified records. The Results of the update are displayed.
Replace Field Value
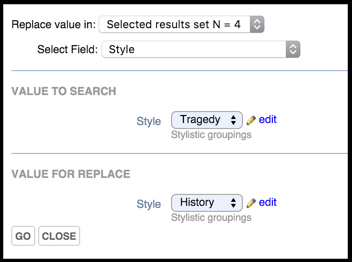
This allows you to find all occurrences of one or more values and replace ('recode') these occurrences with a new value. If you wish simply to change the label associated with a term (e.g. correction of a typo or systematic renaming), this can be done in the record structure itself.
In the Replace Value in field, specify whether you wish to replace a value for the selected fields, or for all fields of this type. In the Select Field field, specify the field you wish to replace the value in. In the Value to Search section, specify the value to be replaced and the replacement value.
Click Go. Any values that match the value you entered are replaced within the selected fields. The Results of the update are displayed.
Delete Field Value
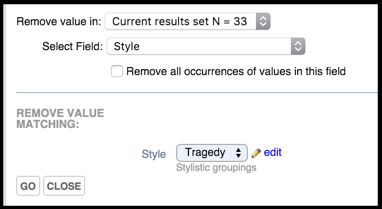
This allows you to delete the contents of a specific field.
In the Add Value to field, specify whether you wish to remove a value for the selected fields, or for all fields of this type. In the Select Field field, specify the field you wish to remove the value from. In the Remove Value Matching section, specify the value to be removed. For exam;le:
Click Go. Any values that match the value you entered are removed within the selected fields.The results of the update are displayed.
Relate To
Use this option to add relationship markers to multiple records.
Select Selected | Relate to. The Find Record dialog is displayed (see Find Record Dialog). Select the target record from the dialog:
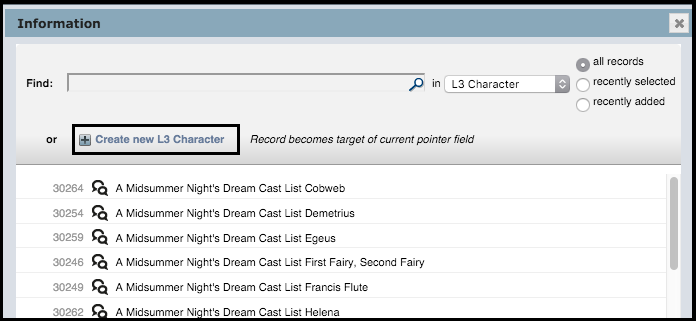
You can use the Filter fields to locate the record types you wish to constrain the list to. The Selected radio button is useful in conjunction with the ‘all groups’ filter to see exactly what has been selected. If you need to, you can create a new record type from this screen using the Define New button (see Define Record Type). Click Clear to remove your selection.
If a pointer has two or more possible record types it can point to, select the required record type from the in dropdown. The available predefined list of records (for that record type) are displayed. If required, use the Find field to search for records and use the radio buttons to narrow your search. If the record exists, click on it to add to the field. If the required record does not exist, you can create a new record to point to from this dialog by selecting the Create a new record link. The selected record is added to the Related Records field.
In the Add Relationships dialog, select a Relationship type.
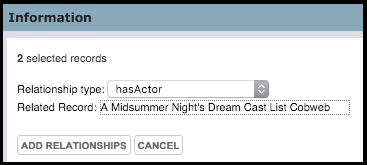
Click Add Relationship.
Note. The new relationships are added. Relationships may be of any type. You can view the Relationships via a records Relationships Tab. You may need to refresh the page after the update.
Aggregation
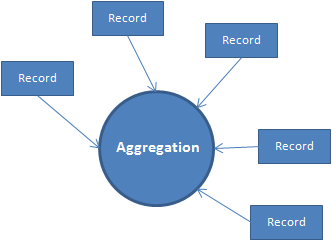
(Not fully implemented)
An 'aggregation' is a record that acts as a root or pivot point for a group of other records that share a common trait that is not part of their attributes. For example, you may wish to aggregate all records that have a connection to World War II but don't have any particular trait that indicate this.
The Aggregation record itself is a record of type Aggregation that has a name and description, that these records can point to. Aggregation records also allow you to define various strings for queries, layout and filters.
Create an Aggregation
Ensure the Aggregation record type is enabled in Record Types screen:

Create a new record of type Aggregation:
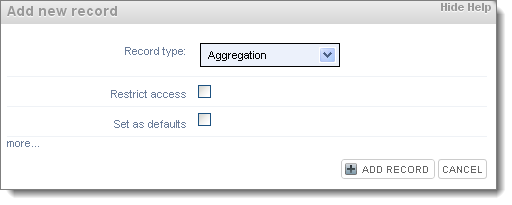
Complete the record details and save it.

The aggregation is now available by selecting the Aggregations link on the Saved Filters Pane.
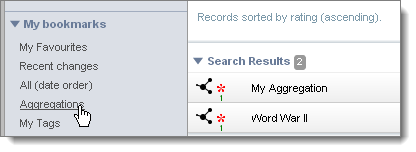
Note. Ensure Show My Bookmarks in navigation panel is selected in your Profile.
Add a record to an aggregation
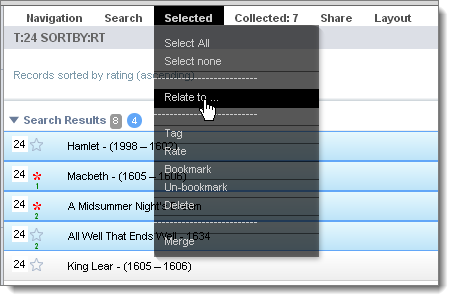
Search and select the records you wish to add. Select Selected | Relate To:
Select a Relationship Type of IsPArtOf and a record type of Aggregation. Click on the Aggregation you wish to link to. For example:
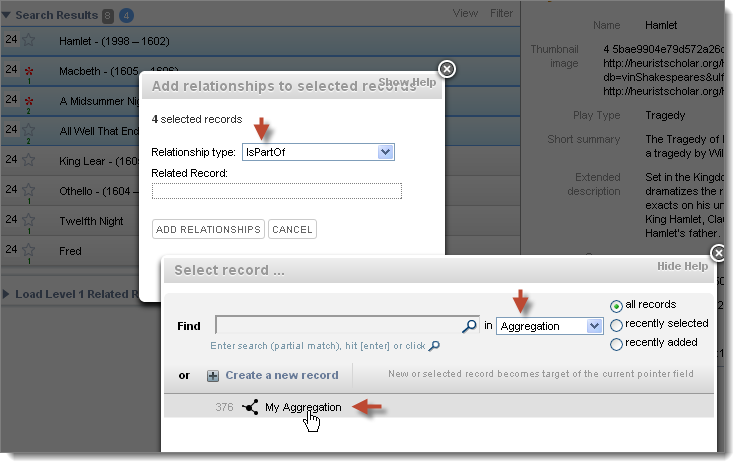
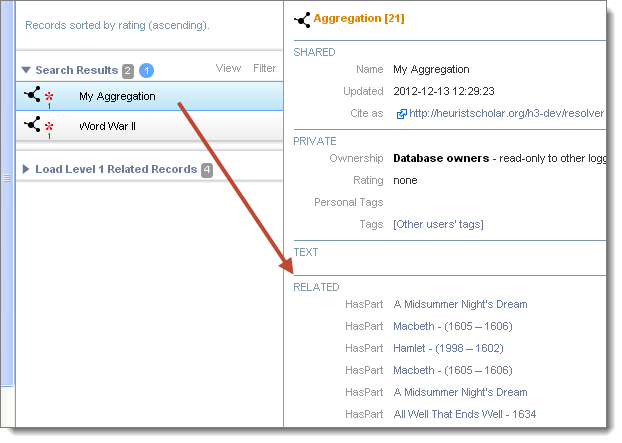
Click Add Relationship. You can see the records relate to this aggregation in the Related (or Relationship Tab) section of the record:
Created with the Personal Edition of HelpNDoc: Free EBook and documentation generator