Note. To verify title masks, see Verify Title Masks.
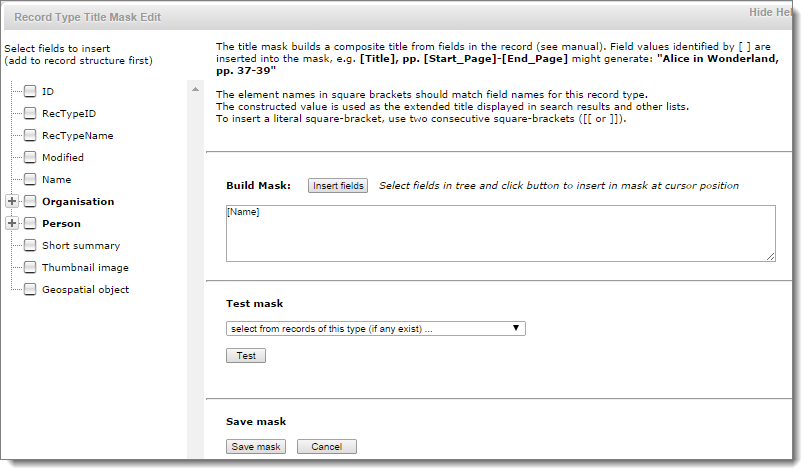
Masks provide the ability to build a composite title based on information taken from other fields in the record, on the fly. The title mask is a string into which field values are inserted to create an extended title for the record. The constructed value is used as the extended title displayed in search results and other lists.
Fields in the record are indicated by square brackets. The element names in square brackets should match field names for this record type.
For example, a person record might have the fields: Family Name, First Name, Title.
In this case you could create the following title mask:
[Last Name], [First Name] ([Title]
A person whose Family Name = Smith, First Name = John, Title = Dr will be rendered in the Title field as:
Smith, John (Dr)
Other people will be rendered appropriately.
Fields in records that are referenced by the record through pointers can also be used. For example:
[personpointer].[Last name]
This pulls out a person's name from a person record pointed to by the current record.
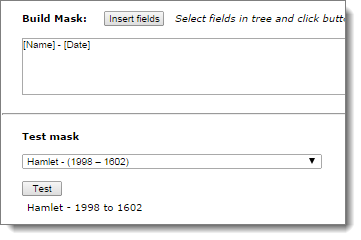
Additional text or punctuation can also be included. For example:
[Title], pp. [Start_Page]-[End_Page]
This renders the Title field and Start and End Page fields as, for example:
Alice in Wonderland, pp. 37-39
To insert a literal square-bracket, use two consecutive square-brackets ([[ or ]]).
Fields in records referenced by the record through pointers can also be used:
[personpointer].[Last name]
This gets a person's name from a Person record pointed to by the current record.
To create a title mask
Go to Database | Record Types / Fields, select the relevant group and click the Edit icon for the record type.
Note. You can enter a mask directly into the field if you wish, or use the Edit Mask dialog as described below.
Created with the Personal Edition of HelpNDoc: Easily create EPub books