There are a range of actions you can a carry out on individual records and their data.
There are a range of actions you can a carry out on multiple records and their data.
To carry out multiple actions, you need first to Search for the range of records you wish to modify, and select one or more of these records.
Note. To select all records, click Selected | Select All. To select or deselect individual records use the Ctrl keys. To select a range of contiguous records, use the Shift key.
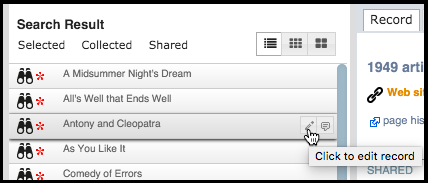
You can edit a single record by selecting its Edit icon (or double-click on the record entry) in the Search Results pane and modifying the record via the Edit Record screen tabs:
You can edit the tabs for the current record and click save (see Create Data | Add Record).
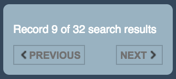
Note. Use the Previous and Next buttons (see highlighted) to quickly scroll through a subset of records.
Select Selected | Delete.
This lists the selected records for deletion:
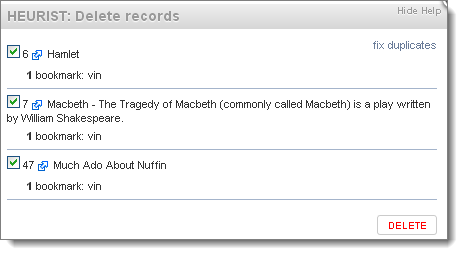
Optionally deselect records (you do not wish to delete) from the list.
Click Delete to continue to delete the selected records.Add Non Standard Fields

Any logged-in user can enhance a record by adding any non-standard field (i.e. fields not defined as part of the record type).
Note. Non-standard fields only apply to the current record. They can be viewed by anyone with permission to view the record.
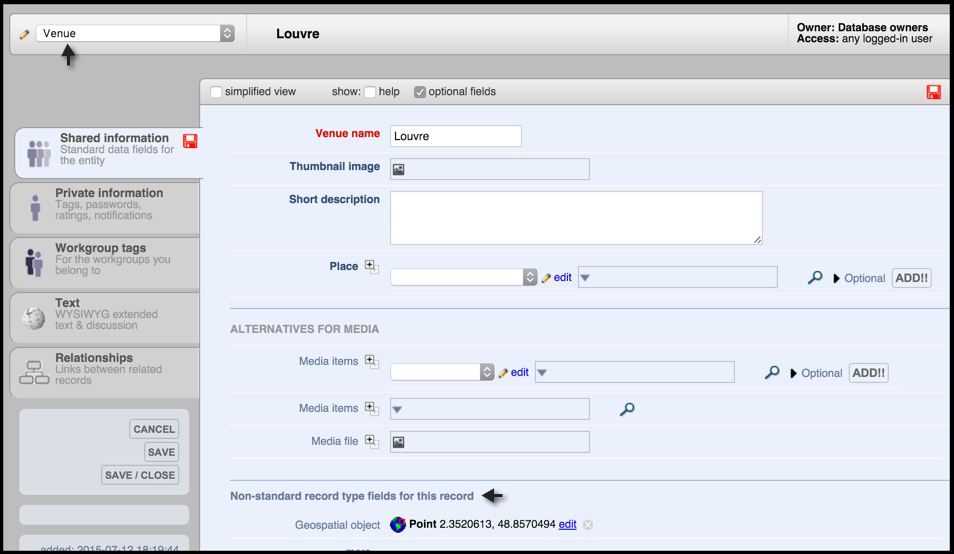
To enter a non-standard field, open the record in Edit Record view. (Ensure that the Show optional fields checkbox is deselected.) Click More... at the bottom of the screen. This displays the Add Field section.
Select the new field type from the dropdown and click Add to add the field. You can now complete this field as required and save it (you cannot save the new field until you have entered or selected a value).
You can change the record type. This may change the set of fields available within the record. You can select alternative record types to view the changes. You can review any changes before saving the record.
Note. Non-standard fields only apply to the current record. They can be viewed by anyone with permission to view the record. (See Add Non-Standard Fields.)
To change the record type, open the open the record in Edit Record view. (Ensure that the Show optional fields checkbox is deselected.) Click the Change (Record Type) edit button at the top left-hand of the screen (this shows the Current record type):
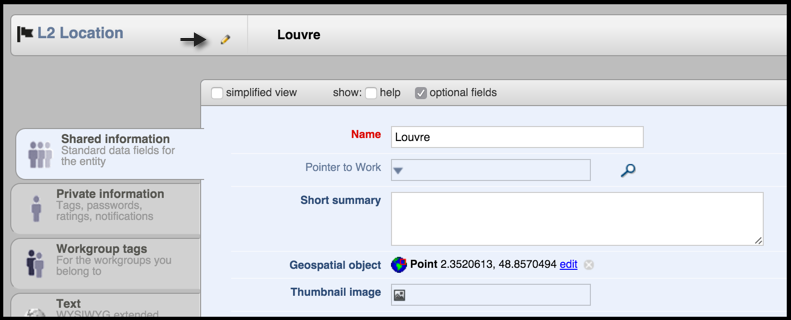
Select a different record type (from the drop-down list). The record is updated based on the structure of the new record type:
Note. As far as possible, Heurist will reallocate the existing data to equivalent fields in the new record type (if they exist). If the data already recorded does not apply to the new record type, it will not be deleted but will be displayed as ‘additional non-standard data’ at the end of the record.
Review and save the changes (no changes are made until you save the record.
For any selected set of records you can update values in the records as follows:
The results of your changes are shown, with links to any records involved.
This allows you to adds a new value for a specified field to each selected record. Existing values are unaffected. New values cannot be added to records where this will cause the maximum count for that field to be exceeded (e.g. adding a value to a single value field where a value is already recorded).
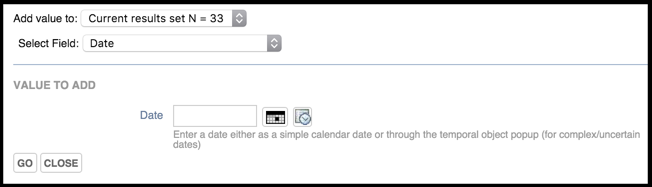
To add a field value, search and select the records you wish to update. Select Selected | Add Field Value.
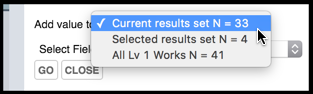
In the Add value to field, specify what set of fields you wish to update. The options are: all in current Search Results page; all selected by you; and all records of this type:
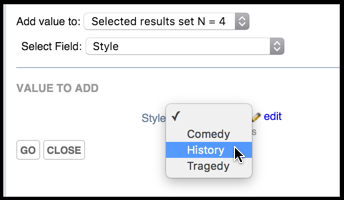
In the Select Field field, specify the field you wish to add a value to. In the Value to Add section, specify the new value. For example:
Click Go. The new value is added to the selected fields for the identified records. The Results of the update are displayed.
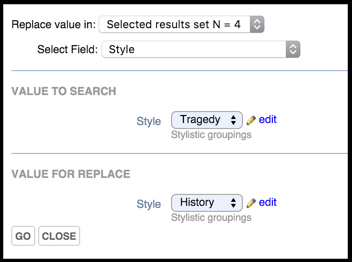
This allows you to find all occurrences of one or more values and replaces these occurrences with a new value. If you wish simply to change the label associated with a term (e.g. correction of a typo or systematic renaming), this can be done in Design View / Structure / Manage terms.
To replace a value, search and select the records you wish to update. Select Selected | Replace Field Value.
In the Replace Value in field, specify whether you wish to replace a value for the selected fields, or for all fields of this type. In the Select Field field, specify the field you wish to replace the value in. In the Value to Search section, specify the value to be replaced and the replacement value.
Click Go. Any values that match the value you entered are replaced within the selected fields. The Results of the update are displayed.
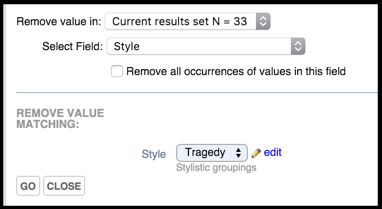
This allows you to delete the contents of a specific field.
To delete a field value, search and select the records you wish to update. Select Selected | Delete Field Value.
In the Add Value to field, specify whether you wish to remove a value for the selected fields, or for all fields of this type. In the Select Field field, specify the field you wish to remove the value from. In the Remove Value Matching section, specify the value to be removed. For exam;le:
Click Go. Any values that match the value you entered are removed within the selected fields.The results of the update are displayed.
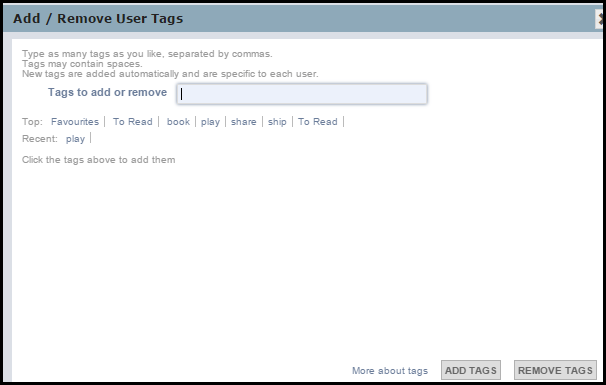
Use this option to add multiple tags. From the Tags dialog, select or add new tags (see Bookmark Records):
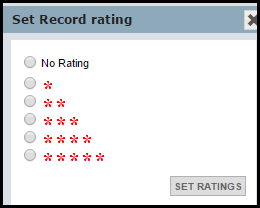
Use this option to add a rating to multiple records.
Click on a rating (5 stars = highest). Then click Set Ratings.
This bookmarks all selected records (see also Bookmark Records).
Note. Clicking on the Private Information tab for an un-bookmarked record, will also prompt you to bookmark the record.
To bookmark a record, select one or more records from the Search Results pane and select Selected | Bookmark (see also Modify Data | Bookmark Record).
Bookmarked records are indicated by a red asterisk.
The Tags dialog displays (see Tags above). Add tags for the bookmarked records.
Note. You can add tags at a later time using the Edit | Tags option.
To remove bookmarks from all selected records, select Selected | Un-Bookmark. (You can delete the bookmark to, say, a journal, from My References without deleting it from the database; deleting it will not alter any journal article references which refer to it. However, alterations to the bibliographic information in the Shared Information section of the record WILL be carried through to any resources which reference it.)
Once a record has been bookmarked, the Private Information section of the record becomes available. Here you can enter personal information (see below).
The Private Information page shows your (editable) personal information about the record. The tab is available to the owner of the record and anyone who has bookmarked the record. The information in the tab however is restricted to the person who owns or who has bookmarked the record. It applies specifically to the user logged in and is not available to any other users.
Use this option to merge multiple records (i.e. duplicates). You must have just one Master record (the record to which all data is merged into), and select at least one duplicate, although you can have multiple duplicates).
Merging combines all data. Any bookmarks, tags and relationships that are in the selected duplicate records but are not in the master record are added into the master records.
You are given the opportunity to review/refine any changes before committing. After the merge, all selected duplicate records are deleted.
Tip. You can take note of the records' Ids to be sure you are merging the correct records.
To merge, select the duplicated records from the Search Results pane. Select Selected | Merge. All records are displayed (by default, the lowest Id is set as the Master record):
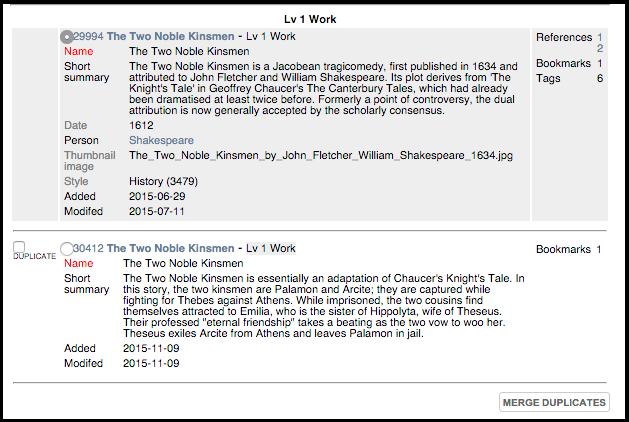
Review the records' data. To set another record as the master record, click on the record's radio button. Select the record(s) you wish to merge with the master record (click on the records' checkboxes). When ready, click Merge Duplicates.
Review the changes before committing:
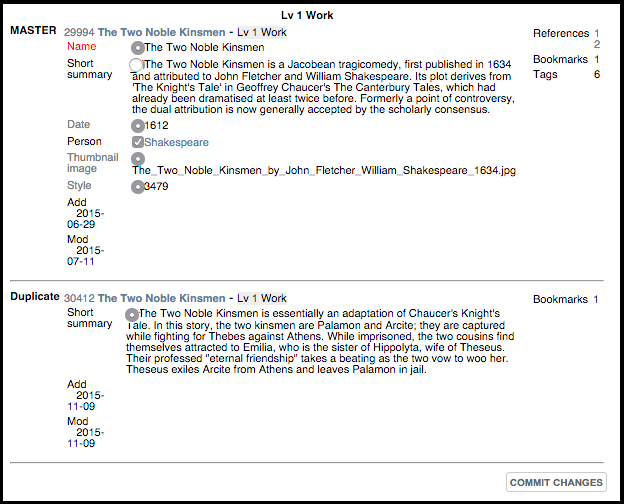
Select the data items which should be retained, added or replaced in the Master record. Repeatable (multi-valued) fields are indicated by checkboxes and single value fields are indicated by radio buttons.
When ready, click Commit Changes. The changes are made and the Master record displayed so that you can verify the changes.
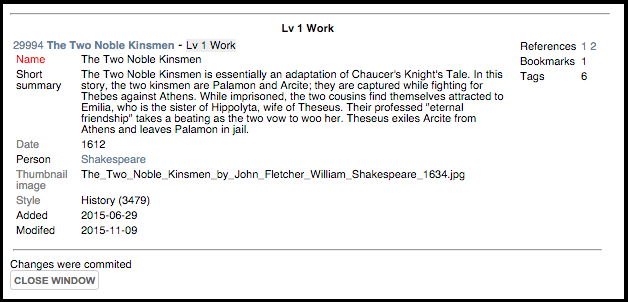
Click Close Window.
Use this option to add relationship markers to multiple records.
Select Selected | Relate to. The Find Record dialog is displayed (see Find Record Dialog). Select the target record from the dialog:
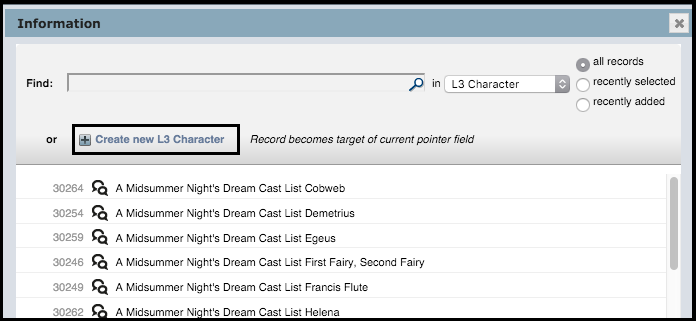
If a pointer has two or more possible record types it can point to, select the required record type from the in dropdown. The available predefined list of records (for that record type) are displayed. If required, use the Find field to search for records and use the radio buttons to narrow your search. If the record exists, click on it to add to the field. If the required record does not exist, you can create a new record to point to from this dialog by selecting the Create a new record link. The selected record is added to the Related Records field.
In the Add Relationships dialog, select a Relationship type.

Click Add Relationship.
Note. The new relationships are added. Relationships may be of any type. You can view the Relationships via a records Relationships tab. You may need to refresh the page after the update.
Created with the Personal Edition of HelpNDoc: Create help files for the Qt Help Framework