This topic describes how to quickly create a new record based on your database structure and populate the record with data.
(See also Screen Conventions.)
To create a new record
- From the Home Screen, click Add New Record:
The Add New Record dialog displays:
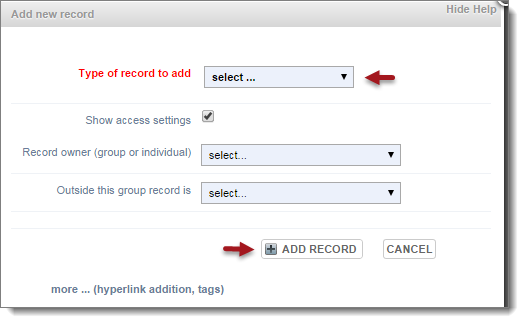
- Select a Record Type. Select the type of record you wish to create.
- Select the Show Access Settings to specify the record owner and visibility:
Complete the fields, as follows:
- Record Owner. Select the group you wish to restrict edit access to. By default, edit access is available to all members of the Owners Group. Workgroup members can edit and enhance the records collectively added to their database. You can set ownership to any workgroup. For personal databases or to restrict access to yourself, select your name. (See also Access.)
- Outside this Group. Select the visibility for this record for users other than the selected group or individual. Options are Hidden, Viewable, Pending or Published. (See also Status).
- Click More... to set additional settings:
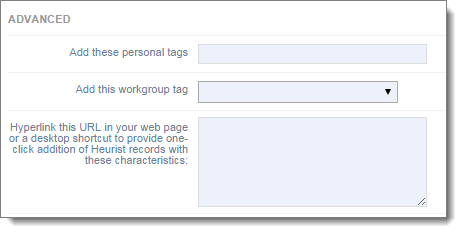
Complete the fields, as follows:
- Add these Personal Tags. This allows you to add personal tags to the record. Separate tags with comma.
- Add these Workgroup Tags. Select an existing workgroup tag to be added to the record.
- Add Embedded Code. The hypertext box shows the code that can be used to embed a link (URL) to a new record matching your current settings, in a web page, or as a shortcut on the desktop. This will have the same function as clicking the Add Record button with your current settings. Note that the hyperlink details change as your settings on this dialog change.
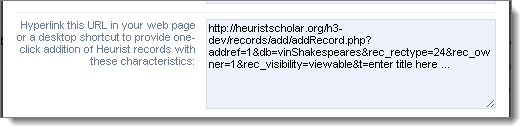
You can use this convenient feature to save time when creating multiple records with the same setting (that is, hyperlink the URL in a web page or a desktop shortcut to provide one-click addition of Heurist records with these characteristics).
For example:
(To change these settings later, see Access.)
Note. Your settings are retained by default for all future new records (until reset).
- When complete, click Add Record. The Record Edit screen displays:
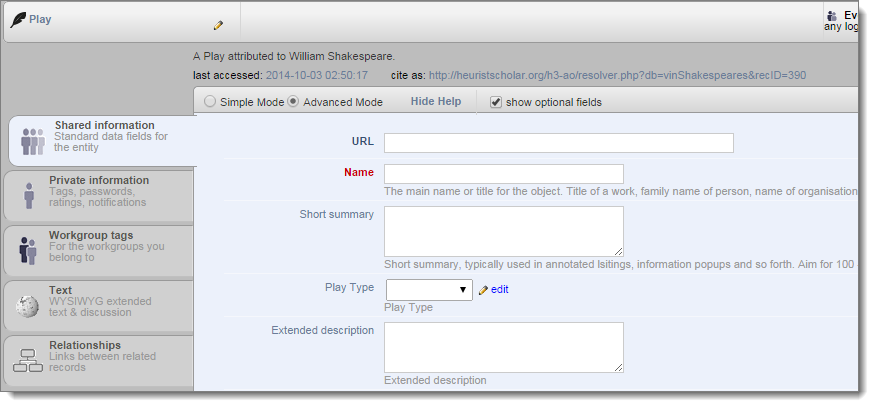
- Complete this screen as required (see Edit Record below).
- When complete, click Save.
 A red diskette marker on a tab shows that information in that tab has been edited. You cannot leave the screen until this information has been saved (or intentionally discarded).
Created with the Personal Edition of HelpNDoc: Easy EPub and documentation editor