My Workgroups
Access | My Workgroups
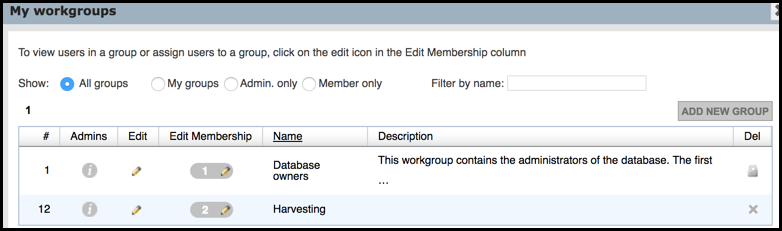
The My Workgroups dialog shows groups that you are a member of, sorted by Group Id (select a different Show checkbox to get different views).
Note. Owners and Administrators can manage workgroups and workgroup members (users). The person creating a workgroup becomes an Administrator of that workgroup and cannot be removed from it. You can, however, temporarily remove yourself, as Administrator or user, from any workgroup. As an Administrator, you can create and delete workgroup, add users (workgroup members) to any workgroup, and manage workgroup tags. (See Security Model for details of the various groups a user can belong to and their access privileges.)
Click on the Admins information icon  to view the group Administrator(s) The number of members in any group is shown under the Edit Membership column.
About Changing Database Ownership
The creator of a database is automatically added to the Database Owners Group and made Owner of the group. As Owner, you can log into the new database with your existing name and password (the name and password you used to log into the database from which you created the new database).
Note. If you have created the new database when logged into another database with a guest password (e.g. guest + guest), this will be the Owner and password for the new database. Your first step should therefore be to change your user details to your own name (and password).
You can assign another user as Owner by updating your details to those of the new Owner.
Add a Workgroup
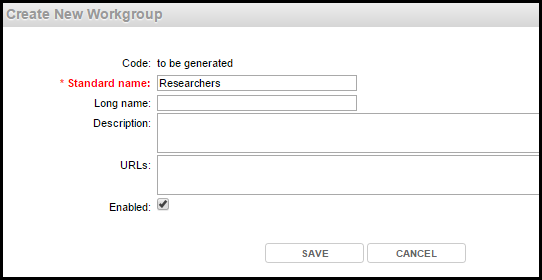
Click Add New Group. In the Create New Group dialog, enter details for the new group and click Save. The new workgroup ID is then generated.
Note. You can temporally disable a workgroup by deselecting the Enabled checkbox.
Edit Workgroup Properties
To edit the workgroup properties, click the Edit icon in the Edit column and make any changes.
Edit Workgroup Membership
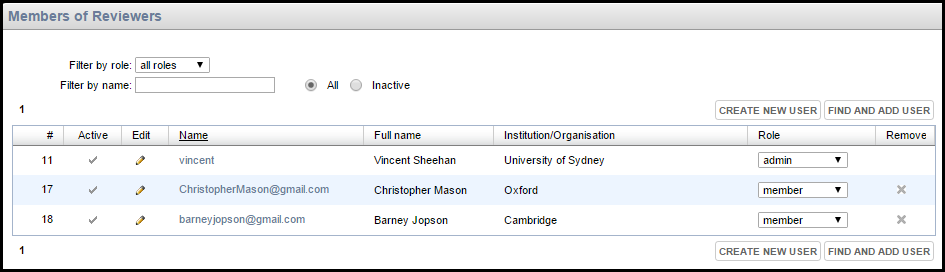
To add/edit members of the workgroup, click the Edit icon in the Edit Membership column, to show the current members of this group.
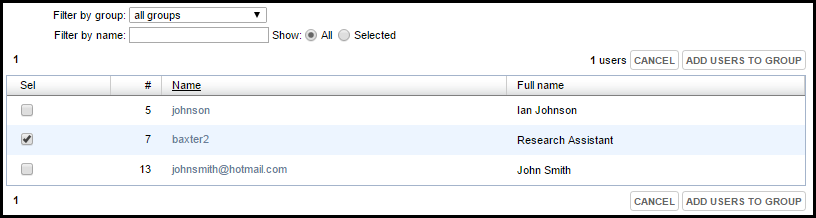
To add an existing user, click Find and Add User. Use the Filter options to narrow the list of users. Select the checkbox for the user or users you wish to add and click Add Users to Group. If a user does not exist, you can create them by clicking Create New User (see Manage Users). Select a role for the user via the Role dropdown: Admin or Member.
Click Back to Groups to return to the Manage Groups page.
Note. To remove the member (this does not delete the actual user), click the Delete icon  for the user.
Created with the Personal Edition of HelpNDoc: Easy to use tool to create HTML Help files and Help web sites