This topic describes how to import record types saved as a CSV file.
To import a CSV file
The Importer wizard displays:
If you are importing a file you have imported before, select it from the Select Uploaded File dropdown. To clear this list, click Clear All files).
This will take you through the steps required in this process.
Note. To go back at any step in this wizard, click the Step heading.
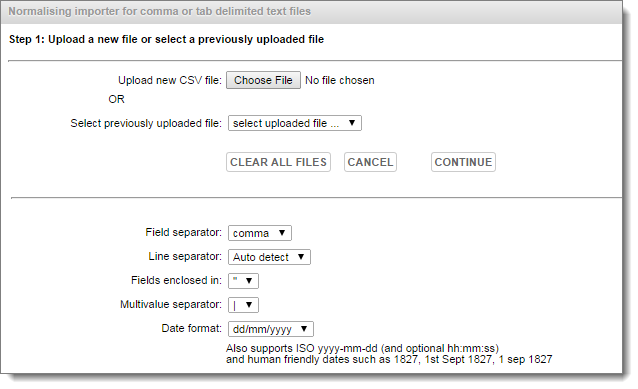
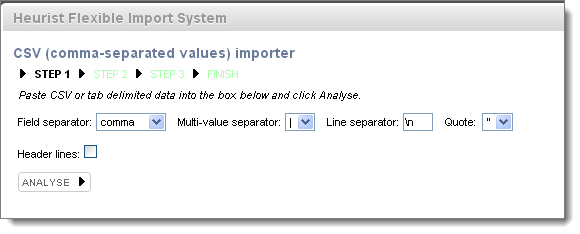
Step 1:
A. Paste CSV or tab delimited data into the box below:
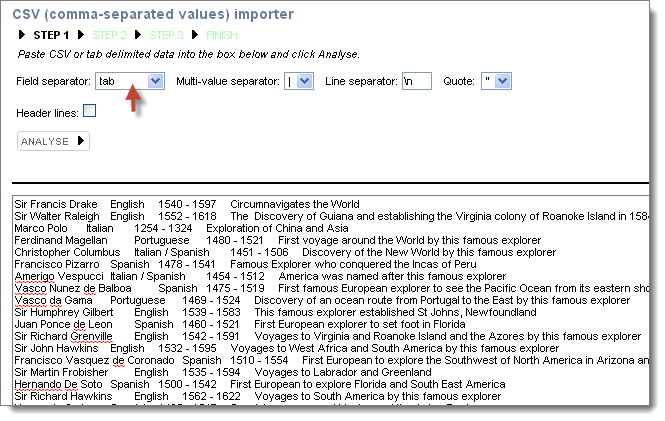
B. Select the appropriate field separator:
C. Click Analyse.
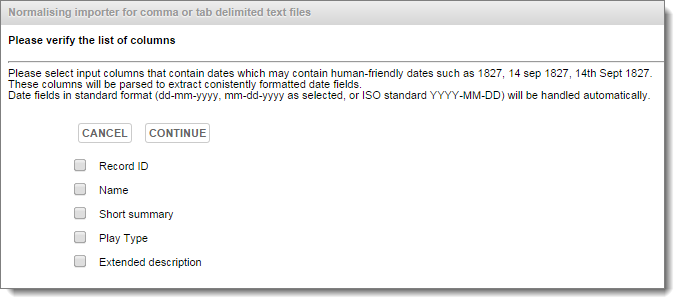
Step 2:
A. Select the appropriate record type to use.
B. For each column, select the appropriate field type to use.
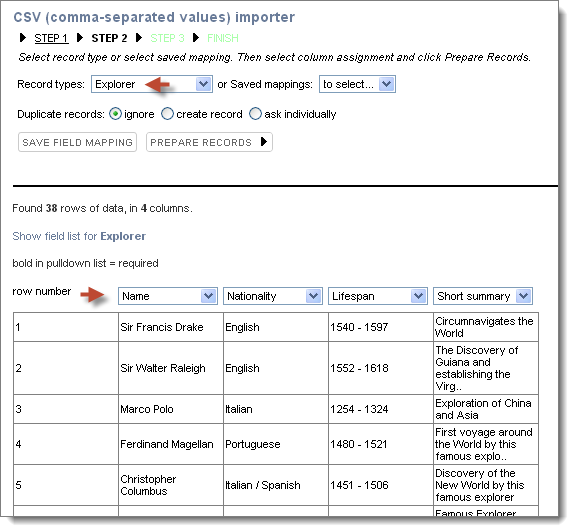
C. Click Prepare Records.
Step 3:
A. Review the set of records ready to import:
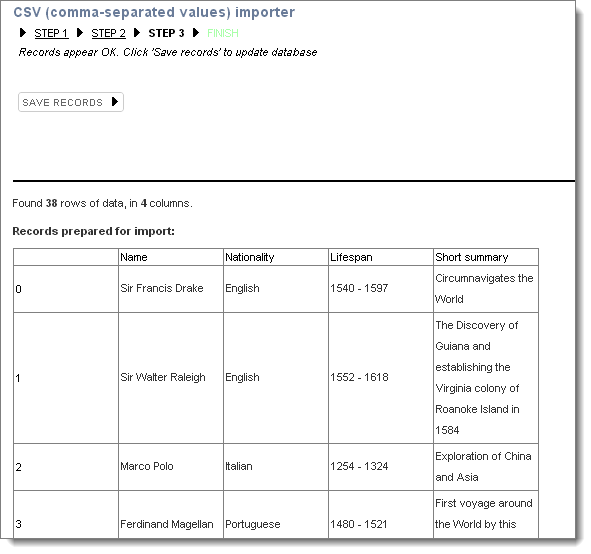
B. If this is not what you expected then go through the steps again and make any adjustments (including adjustments to the CSV or Tab file and/or Record type.
C. When ready, click Save Records.
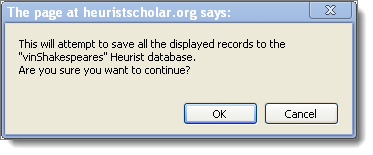
D. Click OK at the prompt or Cancel to cancel the record creation:
Feedback will be provided during record creation:
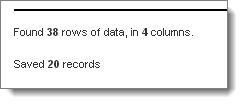
When the import completes, information is displayed:
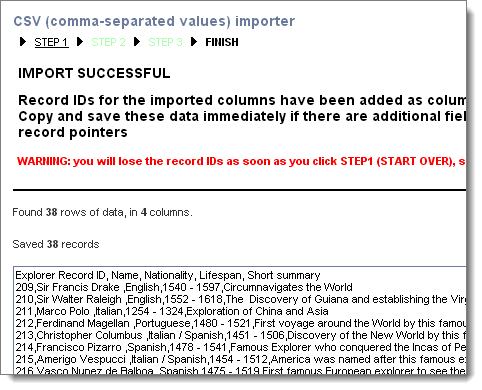
Note the following message: . Record IDs for the imported columns have been added as column 1. Copy and save these data immediately if there are additional fields to import, to allow use of the record IDs as record pointers. WARNING: you will lose the record IDs as soon as you click STEP1 (START OVER), so save the data below to a file first.
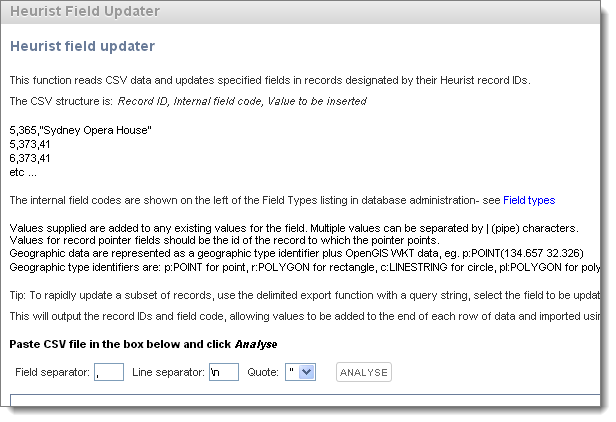
To update the CSV import
Use this option to update your CSV import based on record IDs.
Created with the Personal Edition of HelpNDoc: Easily create iPhone documentation